|
Open the Background image contained in
the zip file, duplicate and close the original image.
Duplicate the original layer of the
Background.
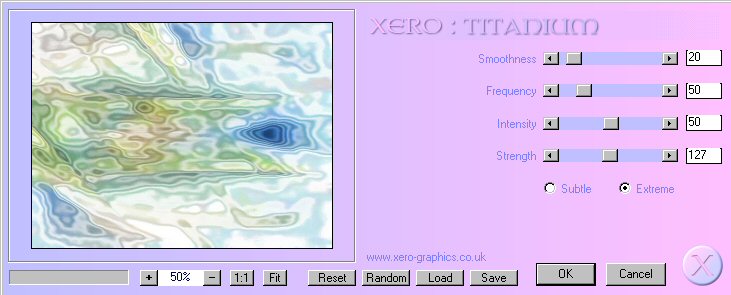
Go to Effects>>>Plugins>>>Xero>>>Titanium
with these settings and click ok.
Save your image as a psp file with
whatever name you choose and remember to save it periodically as you work.
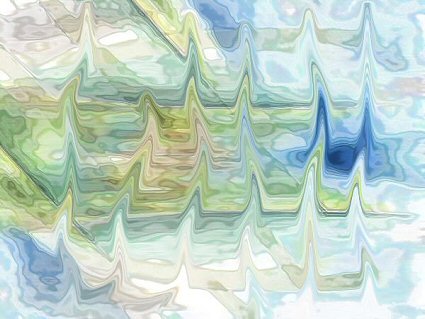
Go to warp brush

with these settings,

and apply similar to mine below.
Open Connie Sky jpg and slide the
layer over to Practice, and place over top of warp layer.
Set layer at Luminance—transparency
at 30.
Open Coventry font and minimize
window.
Select two colors for your materials
colors (I chose blues) and set top box in solid darkest color and bottom
box as a gradient.
Click on your text tool, find Coventry
font in your list and use these settings,
Create new raster
layer and move to top of layer stack. Open text tool and click on top left
of background.
Use settings shown
below and type in Practice, capitalizing the first layer, that gives it
that wonderful accent below the word.

Move the text if
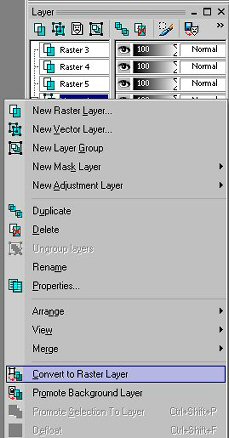
necessary by grabbing the center white square and convert to raster layer.
Then go to
Effects>>>3D Effects>>>Drop Shadow.
You can apply a drop
shadow of 2 Horizontal and 2 Vertical.
I liked mine without a drop shadow.
Select text tool,
type in What, position, convert to raster layer, type in You, etc as
before.
When you type in
Love, change the text size to 48 and stretch it out longer by pulling on
the vector box to the right.
Remember
to convert each layer to a raster layer.
Then add your signature the same way.
Copy and paste
Connie Moon and then the girl tube and position them as in the finished
image above
making sure they are
above the sky layer.
You may also select
your favorite tube showing what you love to do!!
(I like to save this
as a PSP file, and then copy merged and paste as new image).
When you have the
girl and moon, and the text positioned to your liking, go to layers and
merge all and then duplicate.
Go to
Image>>>Add Borders with a setting of 20 pixels.
It may tell you that you need to flatten the image, just click yes.
Click on Magic Wand
and select border.
Flood fill
with your blue gradient (or whatever colors you selected) from your lower
materials swatch.
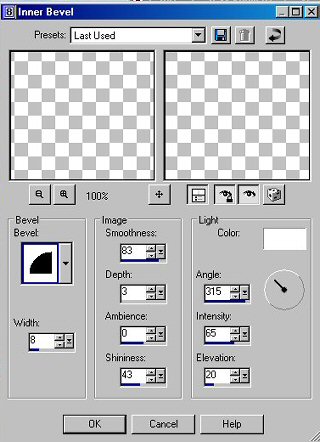
Add bevel as below
and drop shadow of +4 for horizontal and vertical, apply, then changing it
to -4 for each.
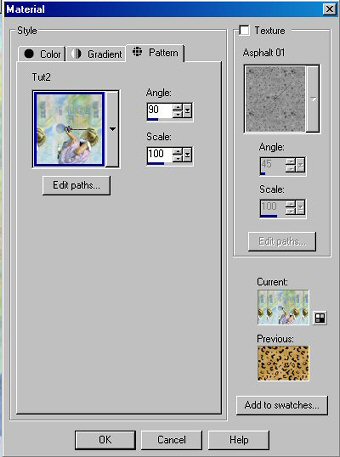
Now go to your top
materials palate, select patterns with the settings below and then click
on your image without the frame,
so that it is now your pattern swatch in
the upper square.
Duplicate
layer, in your image with the frame, keeping selection active.
Flood fill selection
on this new layer with your pattern, go to Efects>>>Plugins>>>Simple>>>Center
Tile and apply.
Set duplicate layer
to ColorL and deselect. Merge
all layers and save as a jpg.
That's
all folks!! I hope you enjoyed it.
|
