|
Open the Sky Clouds image contained
in the zip file, duplicate and close the original image.
I also like to duplicate the original layer
of the Background just in case.
Save your image as a psp file with
whatever name you choose and remember to save it periodically as you work.
Create a new raster layer, copy and
paste the Jupiter Clouds into the new layer,
or slide the layer to your
Jupiter Dreams image.
From your Tools, select the Freehand
Selection Tool with the Feather set to 20, and draw around the top part of
the image like this.
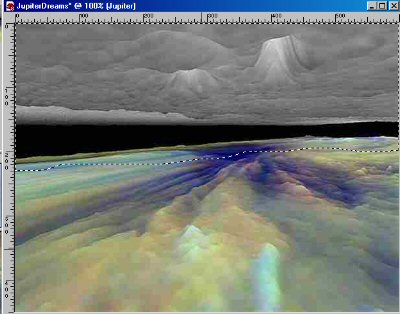
Hit delete and now part of the Sky
Cloud layer below is showing at the top. Deselect.
Open Garden Path, duplicate and close
original.
Draw around the path and flowers, with
Freehand Selection Tool, still set at Feather 20.
Invert selection and hit delete
key. Deselect. Copy and paste as new layer on your image.
Position it at the bottom right.
Open the Italian Villa tube, copy and
paste as new layer and position to the top left,
above the Garden Path.
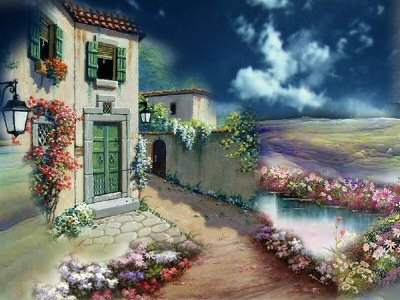
Copy merged and paste as a new layer. Duplicate layer.
Your image will now look like this.
Adjust>>>Add/Remove
Noise>>>Edge Preserving Smooth set at 30.
Effects>>>Edge
Effects>>>Enhance
Duplicate this layer twice and on the
lower layer, apply
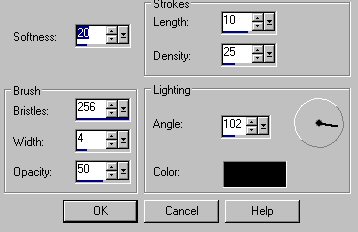
Effects>>>Artistic Media
Effects>>>Brush Strokes with these settings.
On the second duplicate layer apply
the Wet Watercolor Script.
Make sure your original layer with the
Edge Preserving smooth and Enhance Edges is below these two layers.
Save as a PSP file and duplicate
image. Delete all the layers below your merged layer, so they will
look like this.
Now we can have some fun with these
two layers, changing the blend modes and opacity.
Delete all the layers below your
merged layer, so they will look like this,
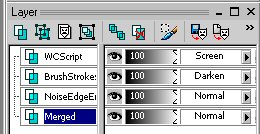
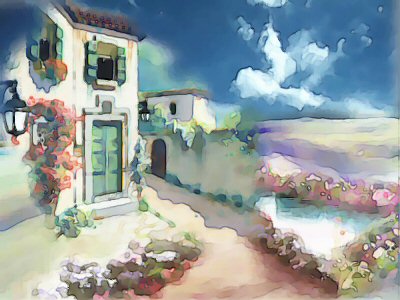
and with these settings,
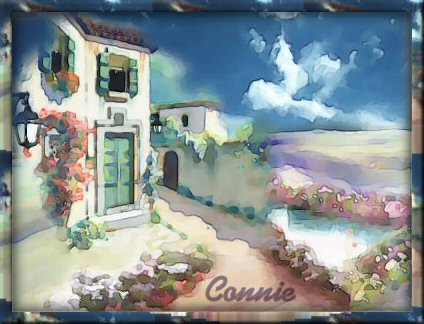
and your image looks like this.
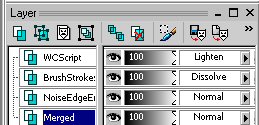
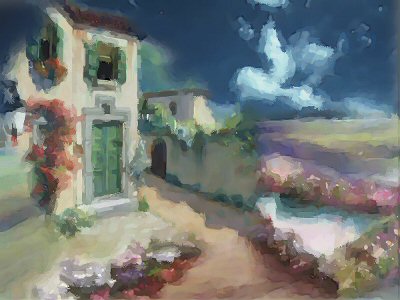
Here is another variations with more
of an impressionistic look and layer settings.
Save your image as PSP file.
Make 2 duplicate images and save one
as jpg.
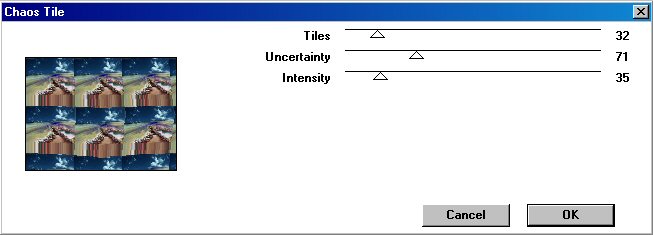
Effects>>>Filter Factory
H>>>Chaos Tiles with these settings.
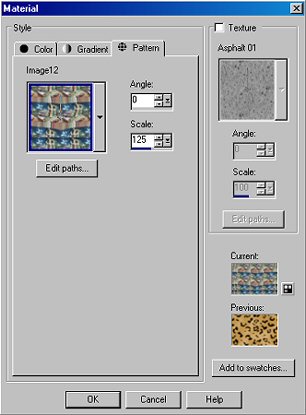
Go to your materials and set the top
one to Patterns and use this image.
Then go to your other duplicate
Image>>>Add Borders of 20.
Select border with magic wand with
Feather set to zero
and flood fill with pattern by left
clicking in border.
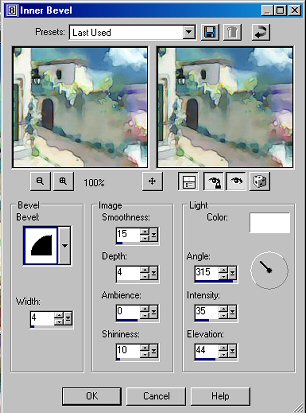
Use these settings for frame bevel.
Add a drop shadow of +2 Horizontal and
Vertical.
Deselect, add your signature and save as jpg.
That's
all folks!! Enjoy!
|